Laser Cutter Intro
We often design prototypes, in OnShape, that can quickly be cut out of 1/4" plywood on the laser cutters.
Our laser cutters have a maximum working area of 24" by 18"
Instructions
Design and Export
-
Design the prototype in OnShape
-
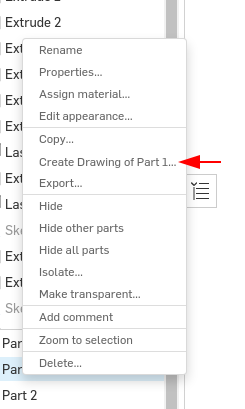
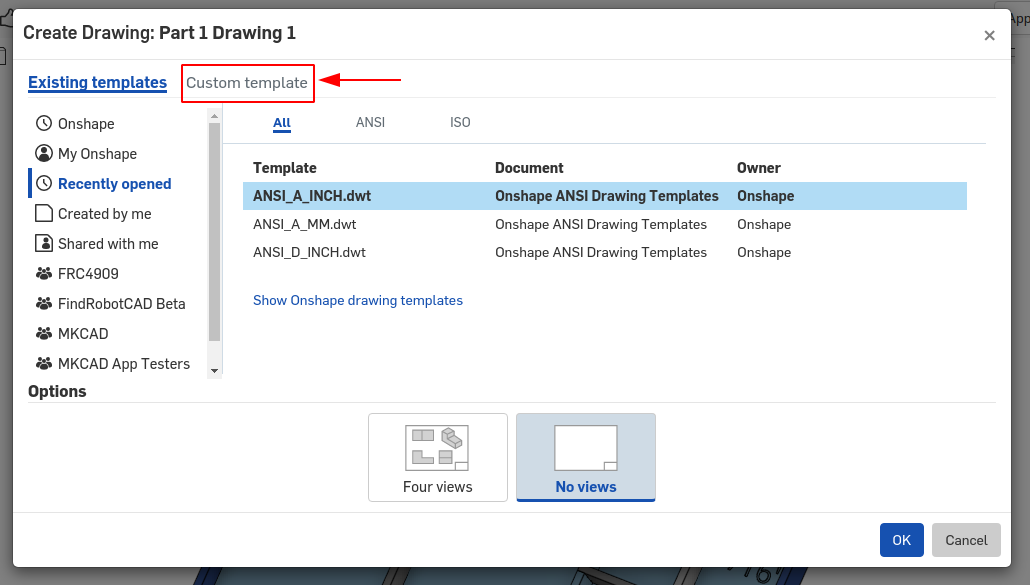
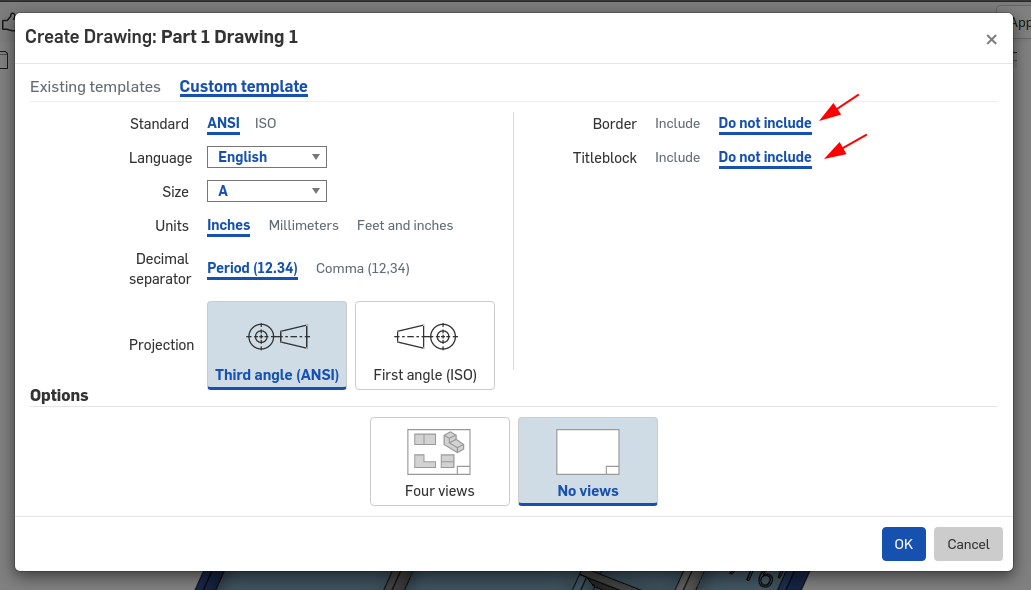
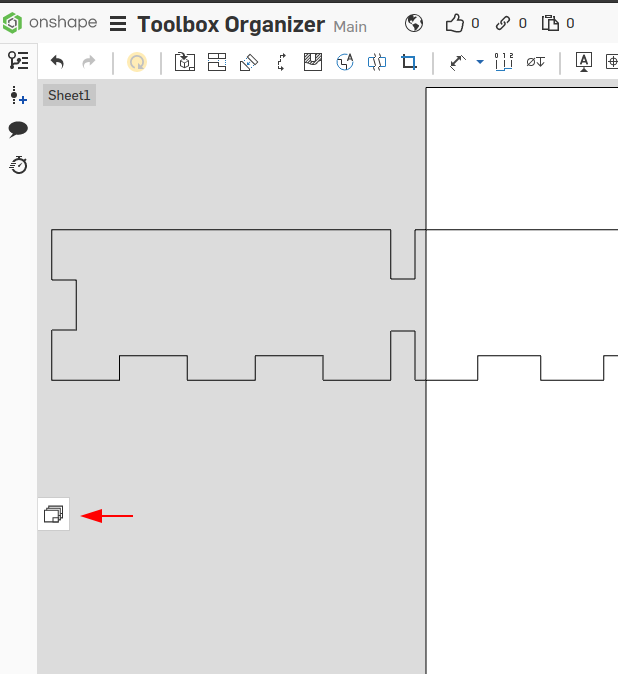
Create a drawing without a border nor titleblock
-
Be make sure our drawing size matches our stock size.
-
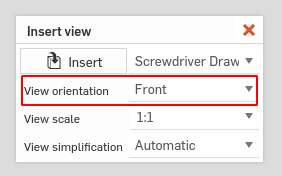
Additional parts can be added to the sheet with the Insert View tool
-
If you need more space, additional sheets can be created.
- From the sheets pane, click the add sheet button.
-
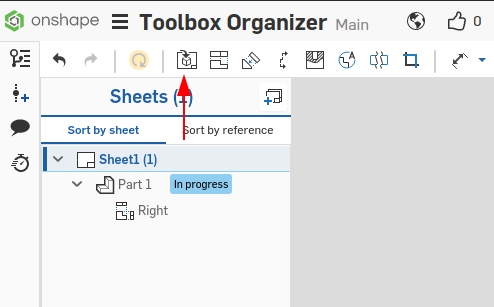
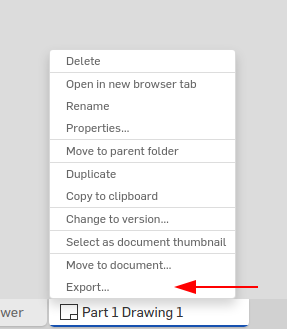
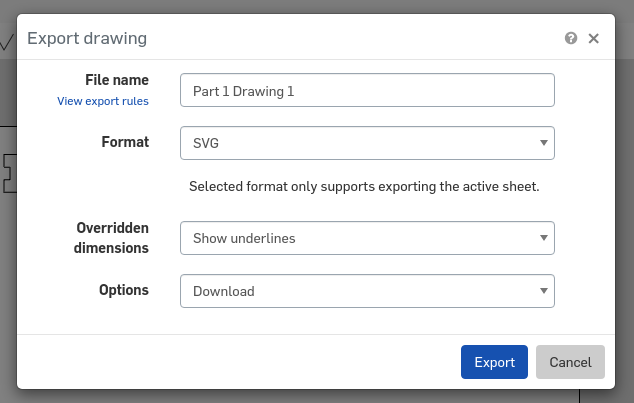
By this point you should have all the parts on various sheets. Export each sheet to SVG.
Preparing the file
The laser will Cut any line that is exactly .001" wide, all others are engraved.
This tool will automatically convert all lines to .001" for cutting https://svg2laser.fly.dev/
Manual Process
The following steps assume you are on a computer connected to the laser
Set Cutting and Engraving speeds
- Open the PDF with Adobe Acrobat Reader
- File > Print
- Select the Epilog Laser from the list of printers
- Click Properties to open the laser configuration window
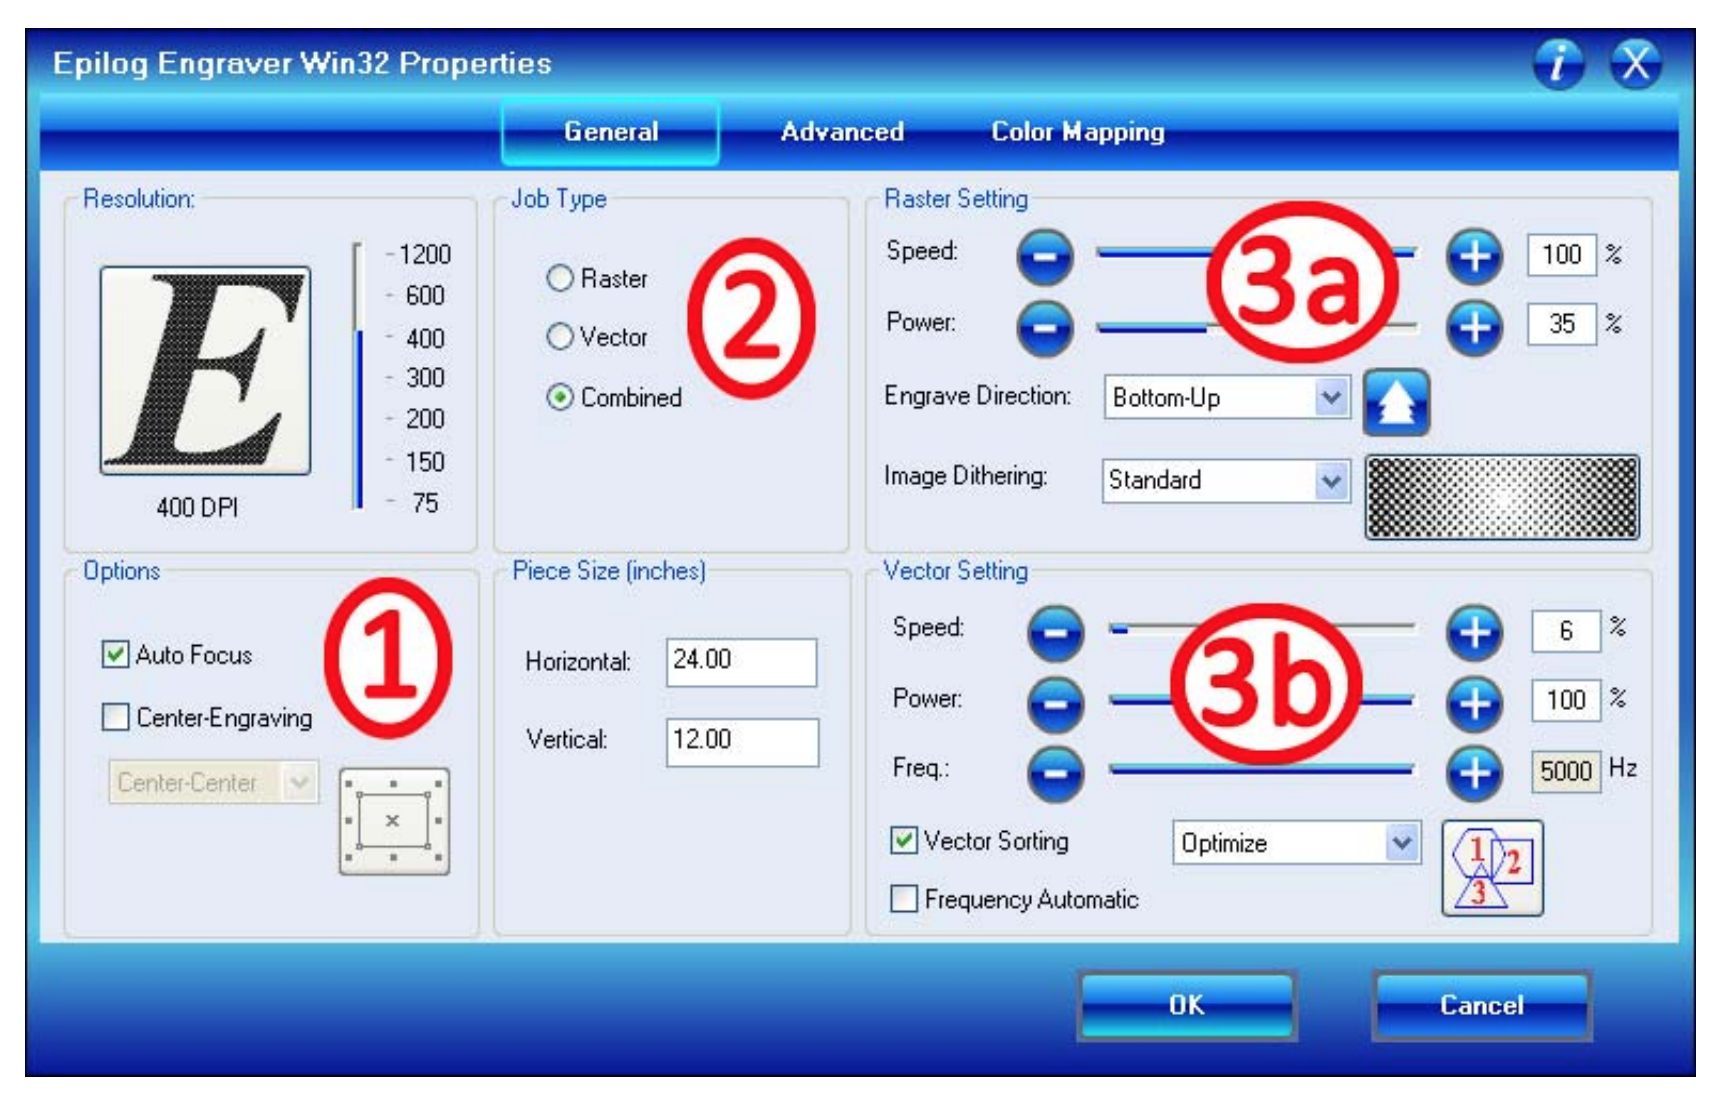
- 1 - Be sure Auto Focus is selected
- 2 - Combined is sufficient unless you want to be sure to only do one type of operation (vector=cut and raster=engrave)
- 3a - Set the Speed and Power for the Raster (Engrave) operation
- 3b - Set the Speed, Power and Frequency for the Vector (Cut) operation
- 4 - Set the Page size to match stock size (often 24" horizontal x 18" vertical)
- Click OK
Consult the Laser Material Settings or the abbreviated table below for our 60W, CO2 Laser determine your power, speed and frequency/DPI for your material.
| Material | DPI/Freq | Speed | Power |
|---|---|---|---|
| Acrylic | |||
| Cutting 1/8" | 100 Hz | 20 | 100 |
| Cutting 1/4" | 5000 Hz | 12 | 100 |
| Plastics | |||
| Engraving | 300 DPI | 90 | 25 |
| Plastic (2 layer engraveable) | |||
| Engraving | 300 DPI | 90 | 65 |
| Cutting 1/8" | 5000 Hz | 30 | 85 |
| Wood | |||
| Engraving | 300 DPI | 40 | 100 |
| Cutting 1/4" | 500 Hz | 20 | 100 |
Power on, Load Material and Cut/Engrave
-
Turn On the Laser, Air Assist and Fume Extraction
- Laser Power: Switch on Left side
- Air Assist: Switch on compressor pump
- Fume Extraction: Time Dial on wall (takes ~30 secs to start)
-
Place your material in the upper left of the laser engraver bed
You should hear loud hissing and fan whirring sounds! If not: Stop and ask for help!
- Make sure your project looks correct on the print preview
- Click Print, and that your job name should appear on the laser display
- To start, push the green print button on the laser
STAY NEXT TO THE LASER WHILE PRINTING!
Done!
Material Notes
When cutting wood, multiple passes may allow cutting of thicker materials. Using Color Mapping you can adjust the focus point between passes down to the center point of the cut for the best results.
When cutting acrylic, adjusting the standard focus distance so it is closer to the lens by about .080” (2 mm) will produce better edge quality when cutting 1/4” (3mm) acrylic and thicker. Two passes can be used for cutting thicker materials.
There are two types of acrylic: cast is better for engraving (it creates a frosted look when engraved) and extruded acrylic produces a much better flame polished edge.
Based on the fantastic Inkscape tutorial from the Tulane makerspace http://makerspace.tulane.edu/Uploads/InkscapeTutorial.pdf